Math in Nuke, the series: Merge & Premultiplication · The Grade Node · ColorCorrect · Saturation, Hue & HSV · Keying · Despill · Matching Colour & Light · Edge Extend · Lin, Log & Gamma · Filtering & Resampling · Edge Detection · Vectors · Trigonometry · Expressions & Curves
A paint patch from another frame, a CG element, a plate shot an hour later: half of compositing is making one image look like it was lit like another. There are dozens of gizmos for it, and under the knobs most of them share the same idea, which is surprisingly simple. This page is about that maths. At the end there's a node of mine built on it, with separate amounts for luminance and for hue and saturation.
Useful Links
- Tony Lyons, Compositing Mentor: BlacksMatch
- Tony Lyons: public Nuke tools (BlacksMatch)
- Nukepedia: BlacksMatch
- The Grade Node: blackpoint, lift, Toe and BlacksMatch
- The premult, blur, unpremult trick (Keying page)
Index
- 01. Light and detail
- 02. Matching points: black and white levels
- 03. Matching the low frequencies
- 04. The blur size
- 05. Where to sample, and what to ignore
- 06. Multiply or add
- 07. Luminance and colour, separately
- 08. Time: hold, average, clamp
- 09. ColourMatch, my node
- Match Lab (try it here)
- Nodes to paste in Nuke
01. Light and detail
Every pixel of a photo is, roughly, light × surface: how much light reaches that point and what fraction of it the surface sends back. The light changes slowly across the frame (a sunny side, a shadow, a warm lamp), the surface changes quickly (texture, edges, grain). In frequency terms: the light lives in the low frequencies, the detail in the high frequencies.
That's the key to matching. Two images of the same place under different light differ mostly in the low frequencies. Two different textures under the same light differ mostly in the high ones. A good colour match changes the first and leaves the second alone.
02. Matching points: black and white levels
The simplest match uses just two points. Pick the darkest and the brightest value of the image you have into the blackpoint and whitepoint of a Grade, the same two points of the reference into lift and gain: the Grade maps one range onto the other, per channel.
out = (x − blackpoint) / (whitepoint − blackpoint) × (gain − lift) + lift
It's exact on those two points and linear in between, and it's the right tool when the difference is a global exposure and colour cast. The blacks deserve special care, because in a comp they carry the atmosphere: a black object far away isn't black, it's the colour of the haze. Tony Lyons' BlacksMatch is built for exactly that: it lifts the blacks of an element to a black level (even a per-pixel image of it) without touching the mids, with a toe curve that, as I measured on the Grade page, generalises Nuke's own Toe.
03. Matching the low frequencies
When the light changes across the frame, two points aren't enough. The trick used by most match gizmos: blur both images until the detail is gone, compare the blurs, apply the difference to the sharp image.
correction = blur(reference) / blur(source) out = source × correction
Why it works: if source = lights × surface and the blur removes the surface, then blur(source) ≈ lights and blur(reference) ≈ lightr. Multiplying the source by lightr / lights swaps one light for the other and keeps the source's own detail:
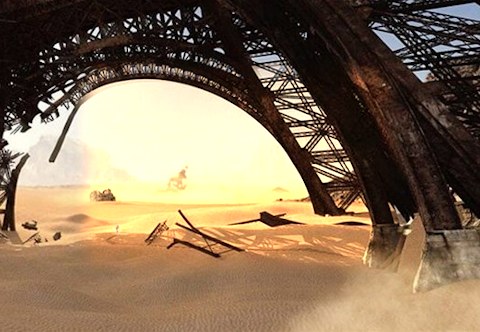
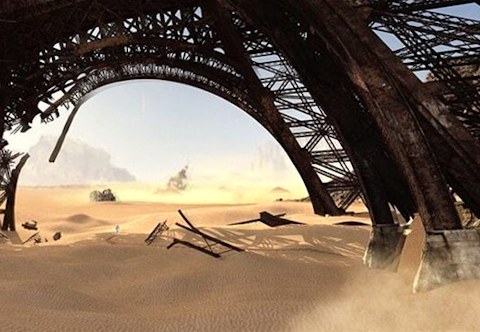
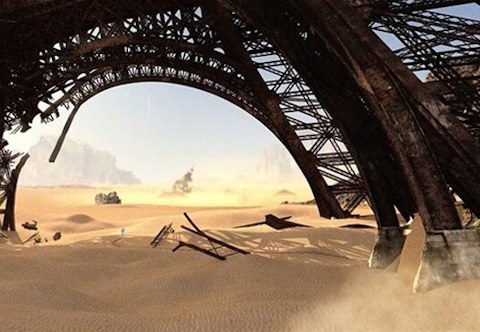
On a real image, a patch with a warmer light and a brightness gradient, matched to the plate around it:
04. The blur size
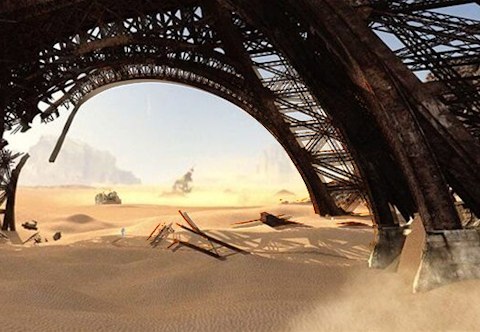
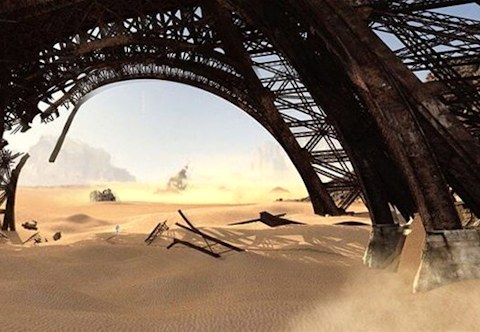
Everything depends on the blur. Too small, and the blur still contains detail: the correction carries the texture of the reference into the source (with no blur at all, the "match" simply copies the reference). Too big, and it can't follow the light: a shadow edge or a gradient gets averaged away. A good start is a blur a bit bigger than the details that differ between the two images, and smaller than the changes of light you want to follow.
05. Where to sample, and what to ignore
A plain blur averages everything in its radius, including what you don't want: the black outside a patch, the object you are painting out. Match gizmos blur with the premult, blur, unpremult trick, the same one IBKColour uses to fill holes:
average = blur(image × mask) / blur(mask)
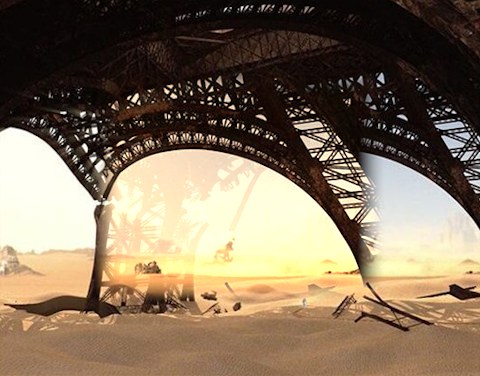
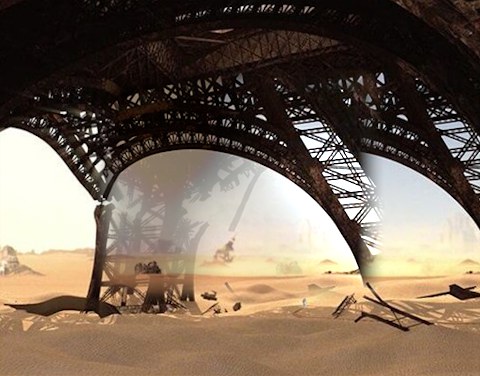
The division turns the blur into an average of the pixels inside the mask only. That's also why a good match node has an occlusion mask: if the reference contains something that the source doesn't (the actor you're removing, a rig), its low frequencies end up in the correction as a soft "ghost". Mask it out of the sampling and the ghost goes away.
06. Multiply or add
The correction can be a ratio or a difference:
multiply: out = source × blur(ref) / blur(source)
add: out = source + blur(ref) − blur(source)
Multiply is the physical choice for a change of light: twice the light makes every value twice as bright, the shadows included, and black stays black. Add fits what sits on top of the image: haze, flare, veiling glare, a lifted black level. They are equivalent in a log space (a ratio in linear is a difference in log), which is why some tools work there. Multiply has one danger: a dark or empty area divides by almost zero. That's why the ratio is usually clamped.
07. Luminance and colour, separately
Often you want only part of the match: the brightness of the reference but the colour of the source, or the other way round. Match gizmos usually offer it as checkboxes or a menu (full colour, luminance only, colour only). The maths behind it: split each colour into its luminance Y and its chroma, the colour divided by its luminance:
Y = 0.2125 r + 0.7154 g + 0.0721 b chroma = (r, g, b) / Y
A colour is its luminance times its chroma, and so is the correction, exactly:
ref / source = (Yref / Ysource) × (chromaref / chromasource)
The first factor changes only the brightness, the second only the hue and saturation. And once they are separated, you don't have to choose all or nothing. Raise each factor to a power between 0 and 1 and you get any amount of each:
correction = (Yref / Ysource)luminance × (chromaref / chromasource)hue/sat
A power is the right way to take "half" of a ratio: half of doubling the light is ×1.41, not ×1.5, because two half steps must multiply back to the full one. For the additive version the split is the same idea with sums: luminance × (Yref − Ysource) + hue/sat × (chroma difference). Some tools work in HSV instead, which needs care because the hue is an angle and wraps around; the ratio of chromas has no angle and nothing to wrap.
08. Time: hold, average, clamp
A blur of every frame flickers whenever something moves through it. Three cures: hold the reference (and sometimes the source) on one frame, so the correction is the same on every frame; average the correction over a few frames (a TimeEcho in average mode); and clamp it, so a dark or empty area can't produce an extreme ratio.
09. ColourMatch, my node
So I put the two ideas together in one node, built and tested in Nuke 17. Its knobs, from top to bottom:
- blur size: the low-frequency filter of chapter 04.
- luminance and hue / saturation: the two amounts of chapter 07, from 0 (keep the source) to 1 (match the reference).
- math: multiply or add (chapter 06).
- hold reference frame and ref frame, average frames, ratio min / max: chapter 08.
- show: the result or the correction map; mix, and a mask input.
It has three inputs: source (what you correct), reference (what it should look like) and mask. The alpha of the source and of the reference says where to sample, so a roto in the reference's alpha is the occlusion matte of chapter 05. I checked it numerically: with both amounts at 1 it gives back the reference exactly when the source is a graded copy of it; with luminance only, the result has the luminance of the reference and the chroma of the source, and vice versa; the add mode removes an offset exactly.
Match Lab
The patch of chapter 03, matched live with the maths of the node. Move the blur, the two amounts, switch between multiply and add. before shows the patch untouched, correction the correction map at half brightness. Drag on the image to compare with the reference. The node at the bottom of the page follows your settings.
Loading…
The Lab blurs with three box blurs, which is close to, but not exactly, Nuke's Gaussian Blur: the same blur size can look a little different.
Nodes to paste in Nuke
Click a box, copy it (Ctrl+C / Cmd+C) and paste it in Nuke's Node Graph (Ctrl+V / Cmd+V).
ColourMatch. My node from chapter 09: inputs source, reference and mask; blur size, luminance and hue / saturation amounts, multiply or add, hold, average and clamp of the correction.
Black toe. The BlacksMatch curve (Tony Lyons) in one Expression: set the black level you want, nothing goes below it and everything above reach × black is untouched.
The math series
The other pages about maths in Nuke:
Merge & Premultiplication
The Grade Node
ColorCorrect
Saturation, Hue & HSV
Keying
Despill
Edge Extend
Lin, Log & Gamma
Filtering & Resampling
Edge Detection
Vectors
Trigonometry
Expressions & Curves
And if you like this, have a look at the Matrices in Nuke series.