Once I had to extend the Frame Range in Mocha. Nothing easier, I thought! :) I spent 30 minutes to figure out how to extend the frame range and keep the keyframe for the tracks already done! So, in this tutorial you will learn these easy steps
Example
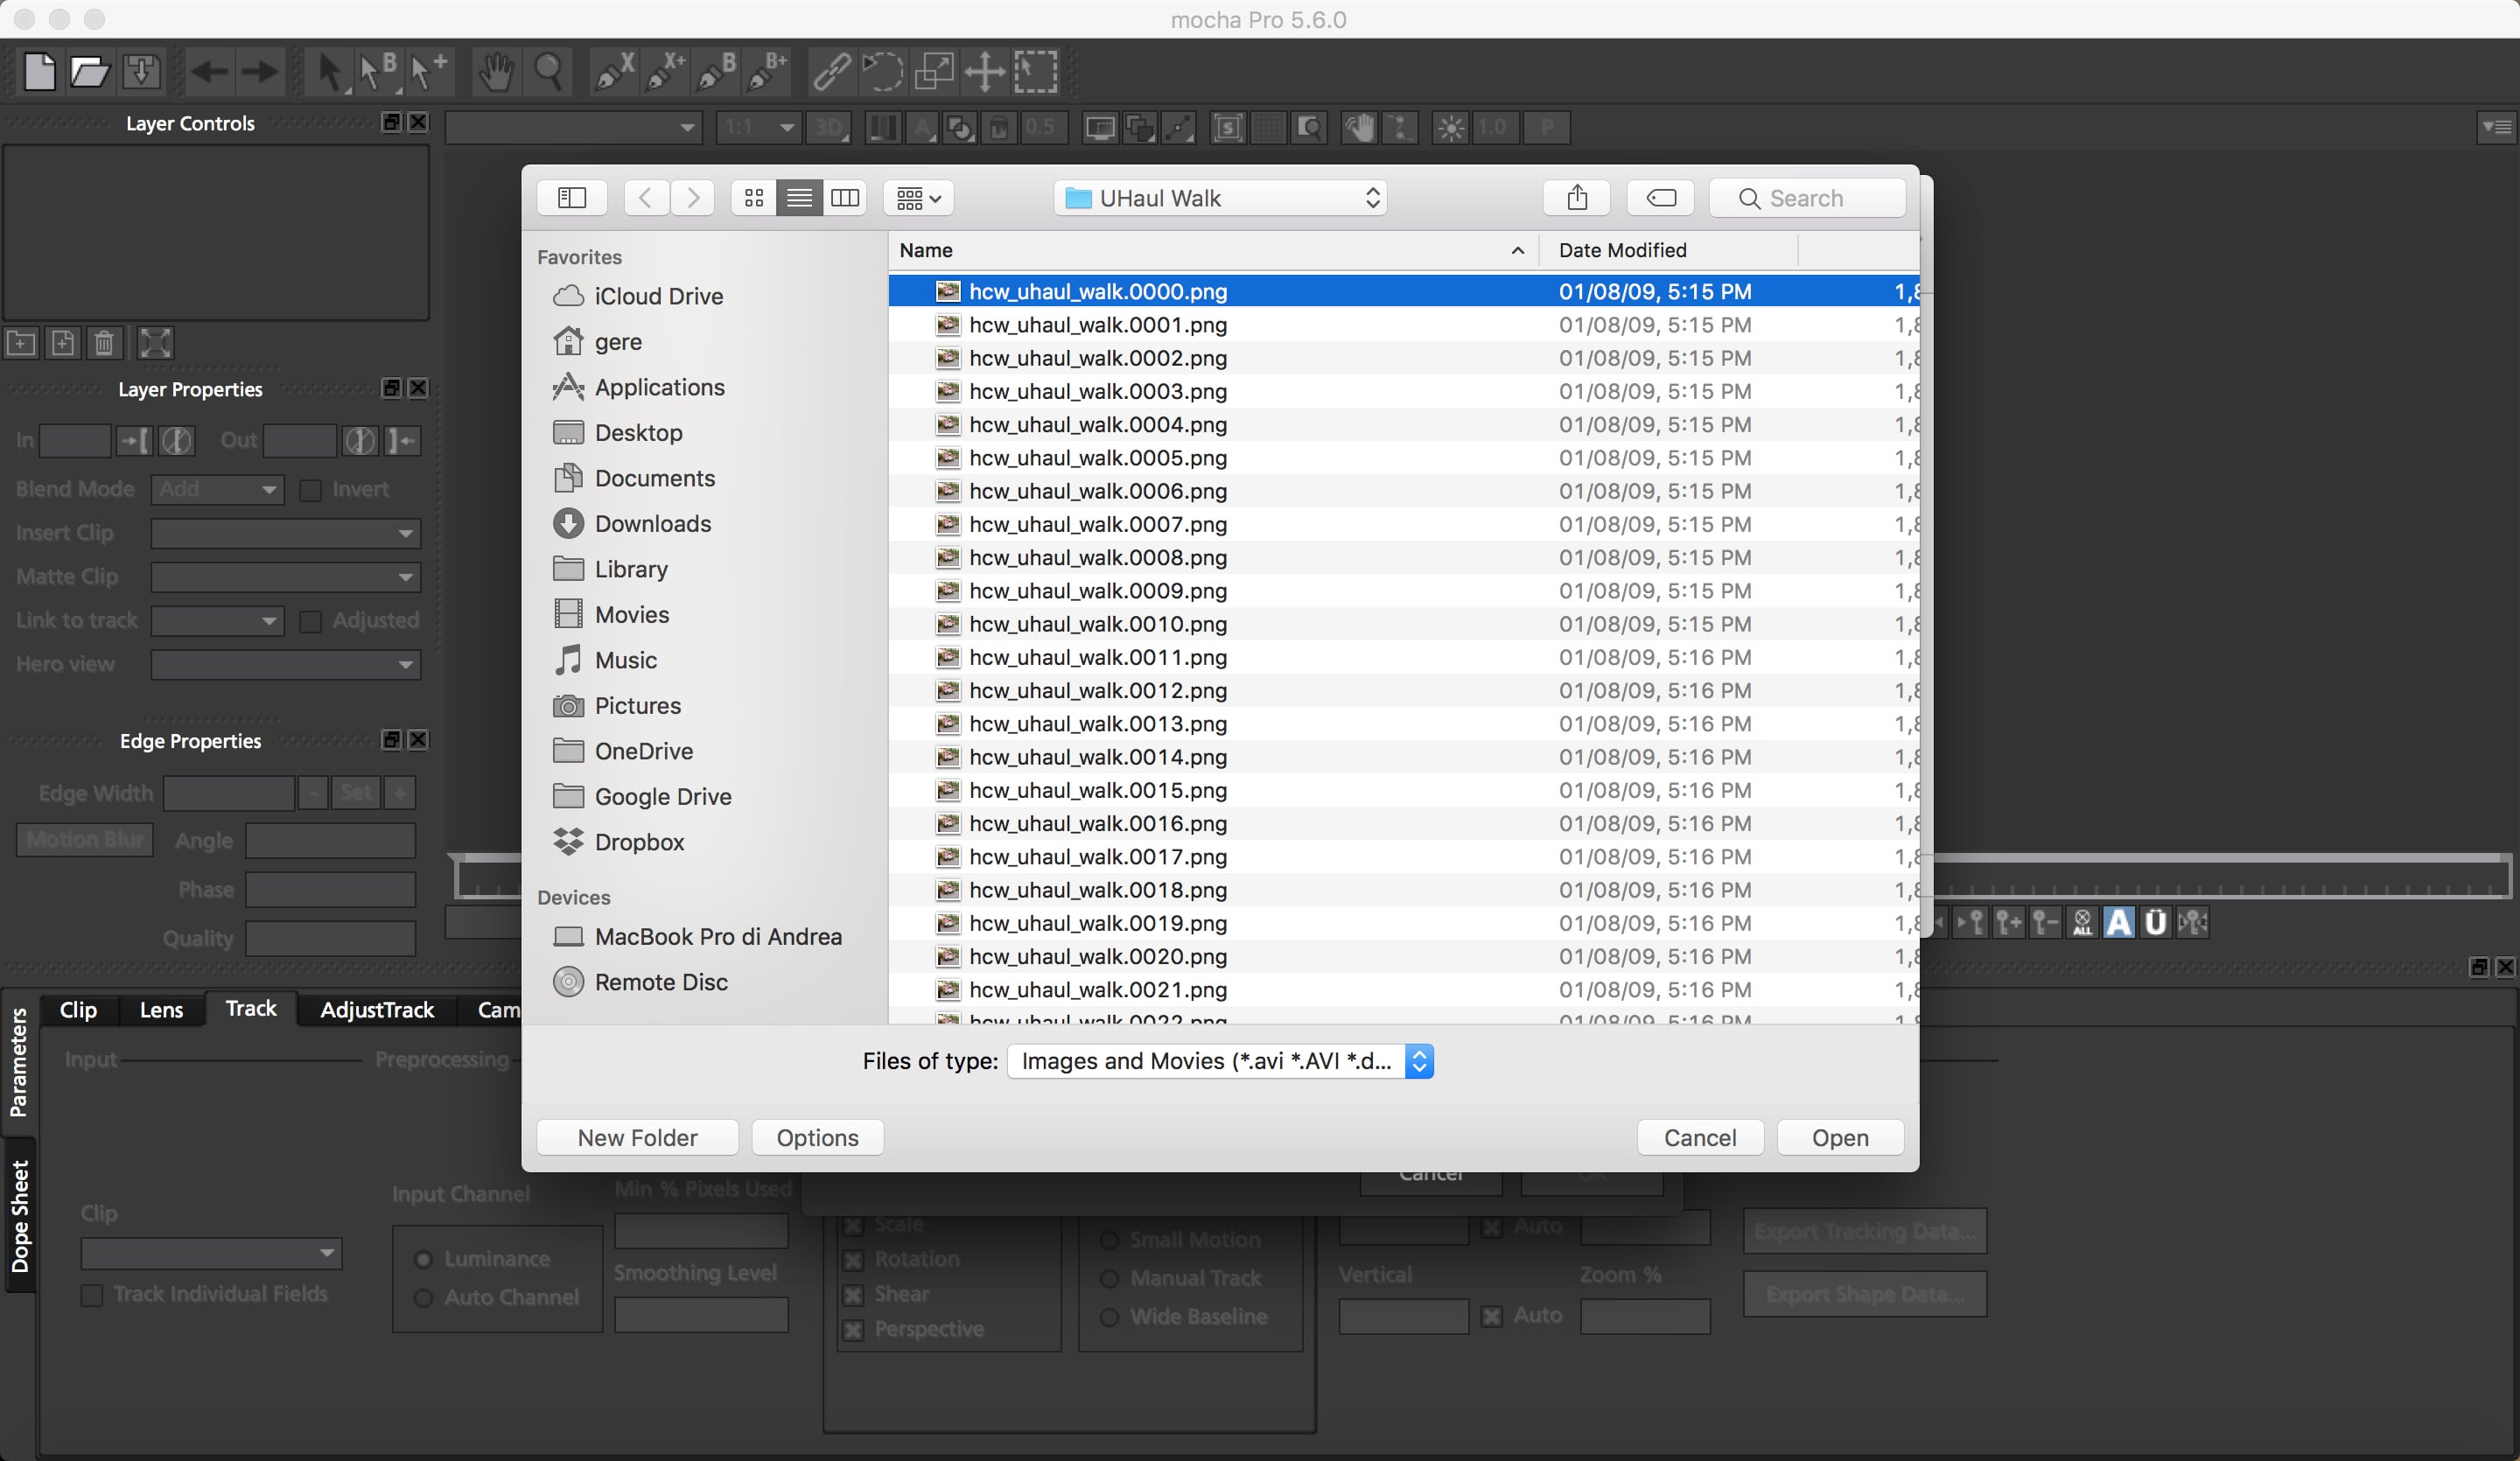
Let's open Mocha Pro (in this example is the version 5.6 in the OS X, but in Windows and in the previous versions is almost the same: New Project → Choose and select your plate.

In this example the original Frame Range goes from 000 to 188.
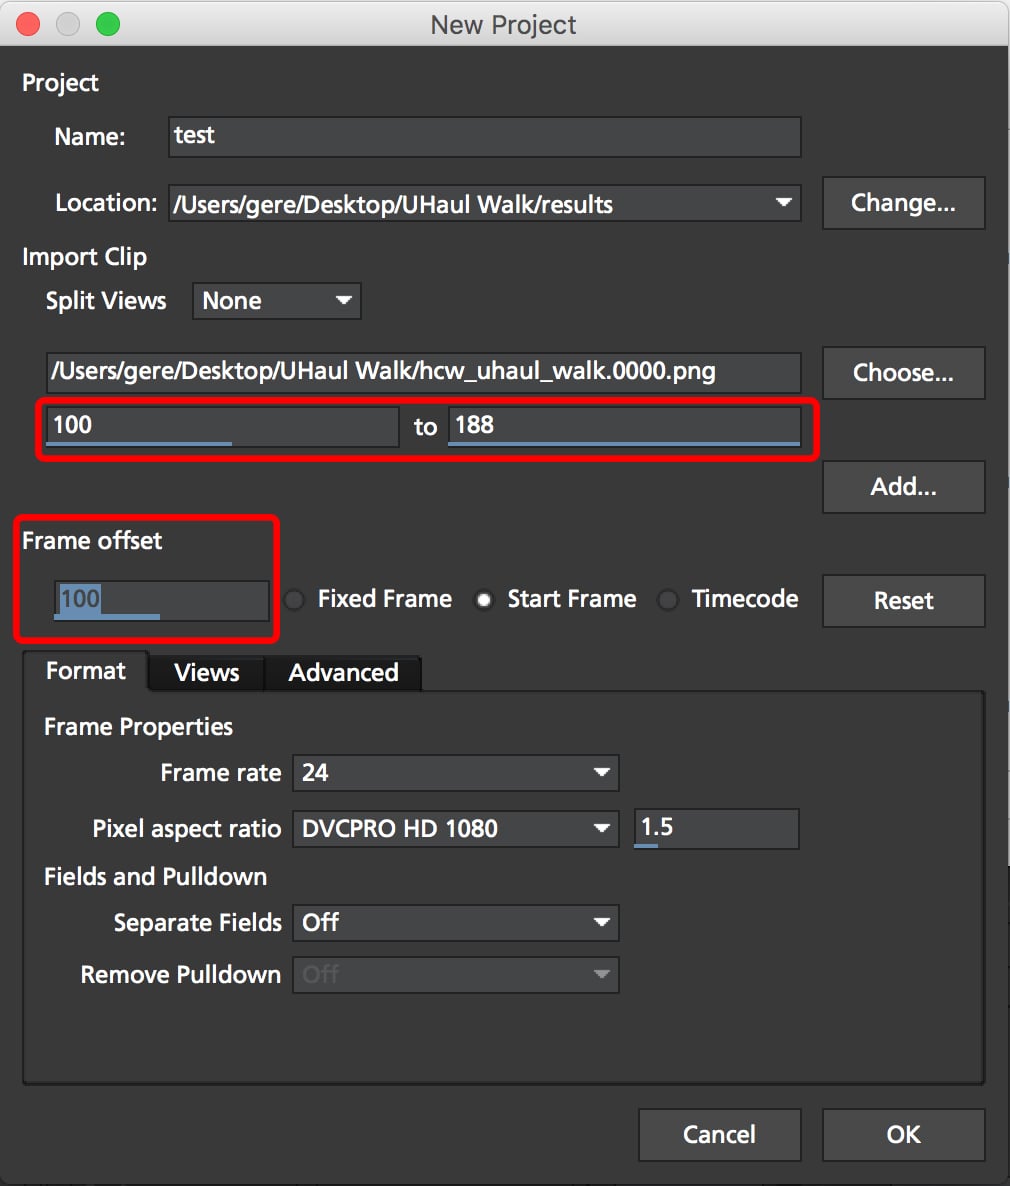
But here in Mocha Pro we set the Frame Range from 100 to 188 and the Frame Offset equals to 100.
So I create a track for all the Timeline (from 100 till 188), like in the next image.
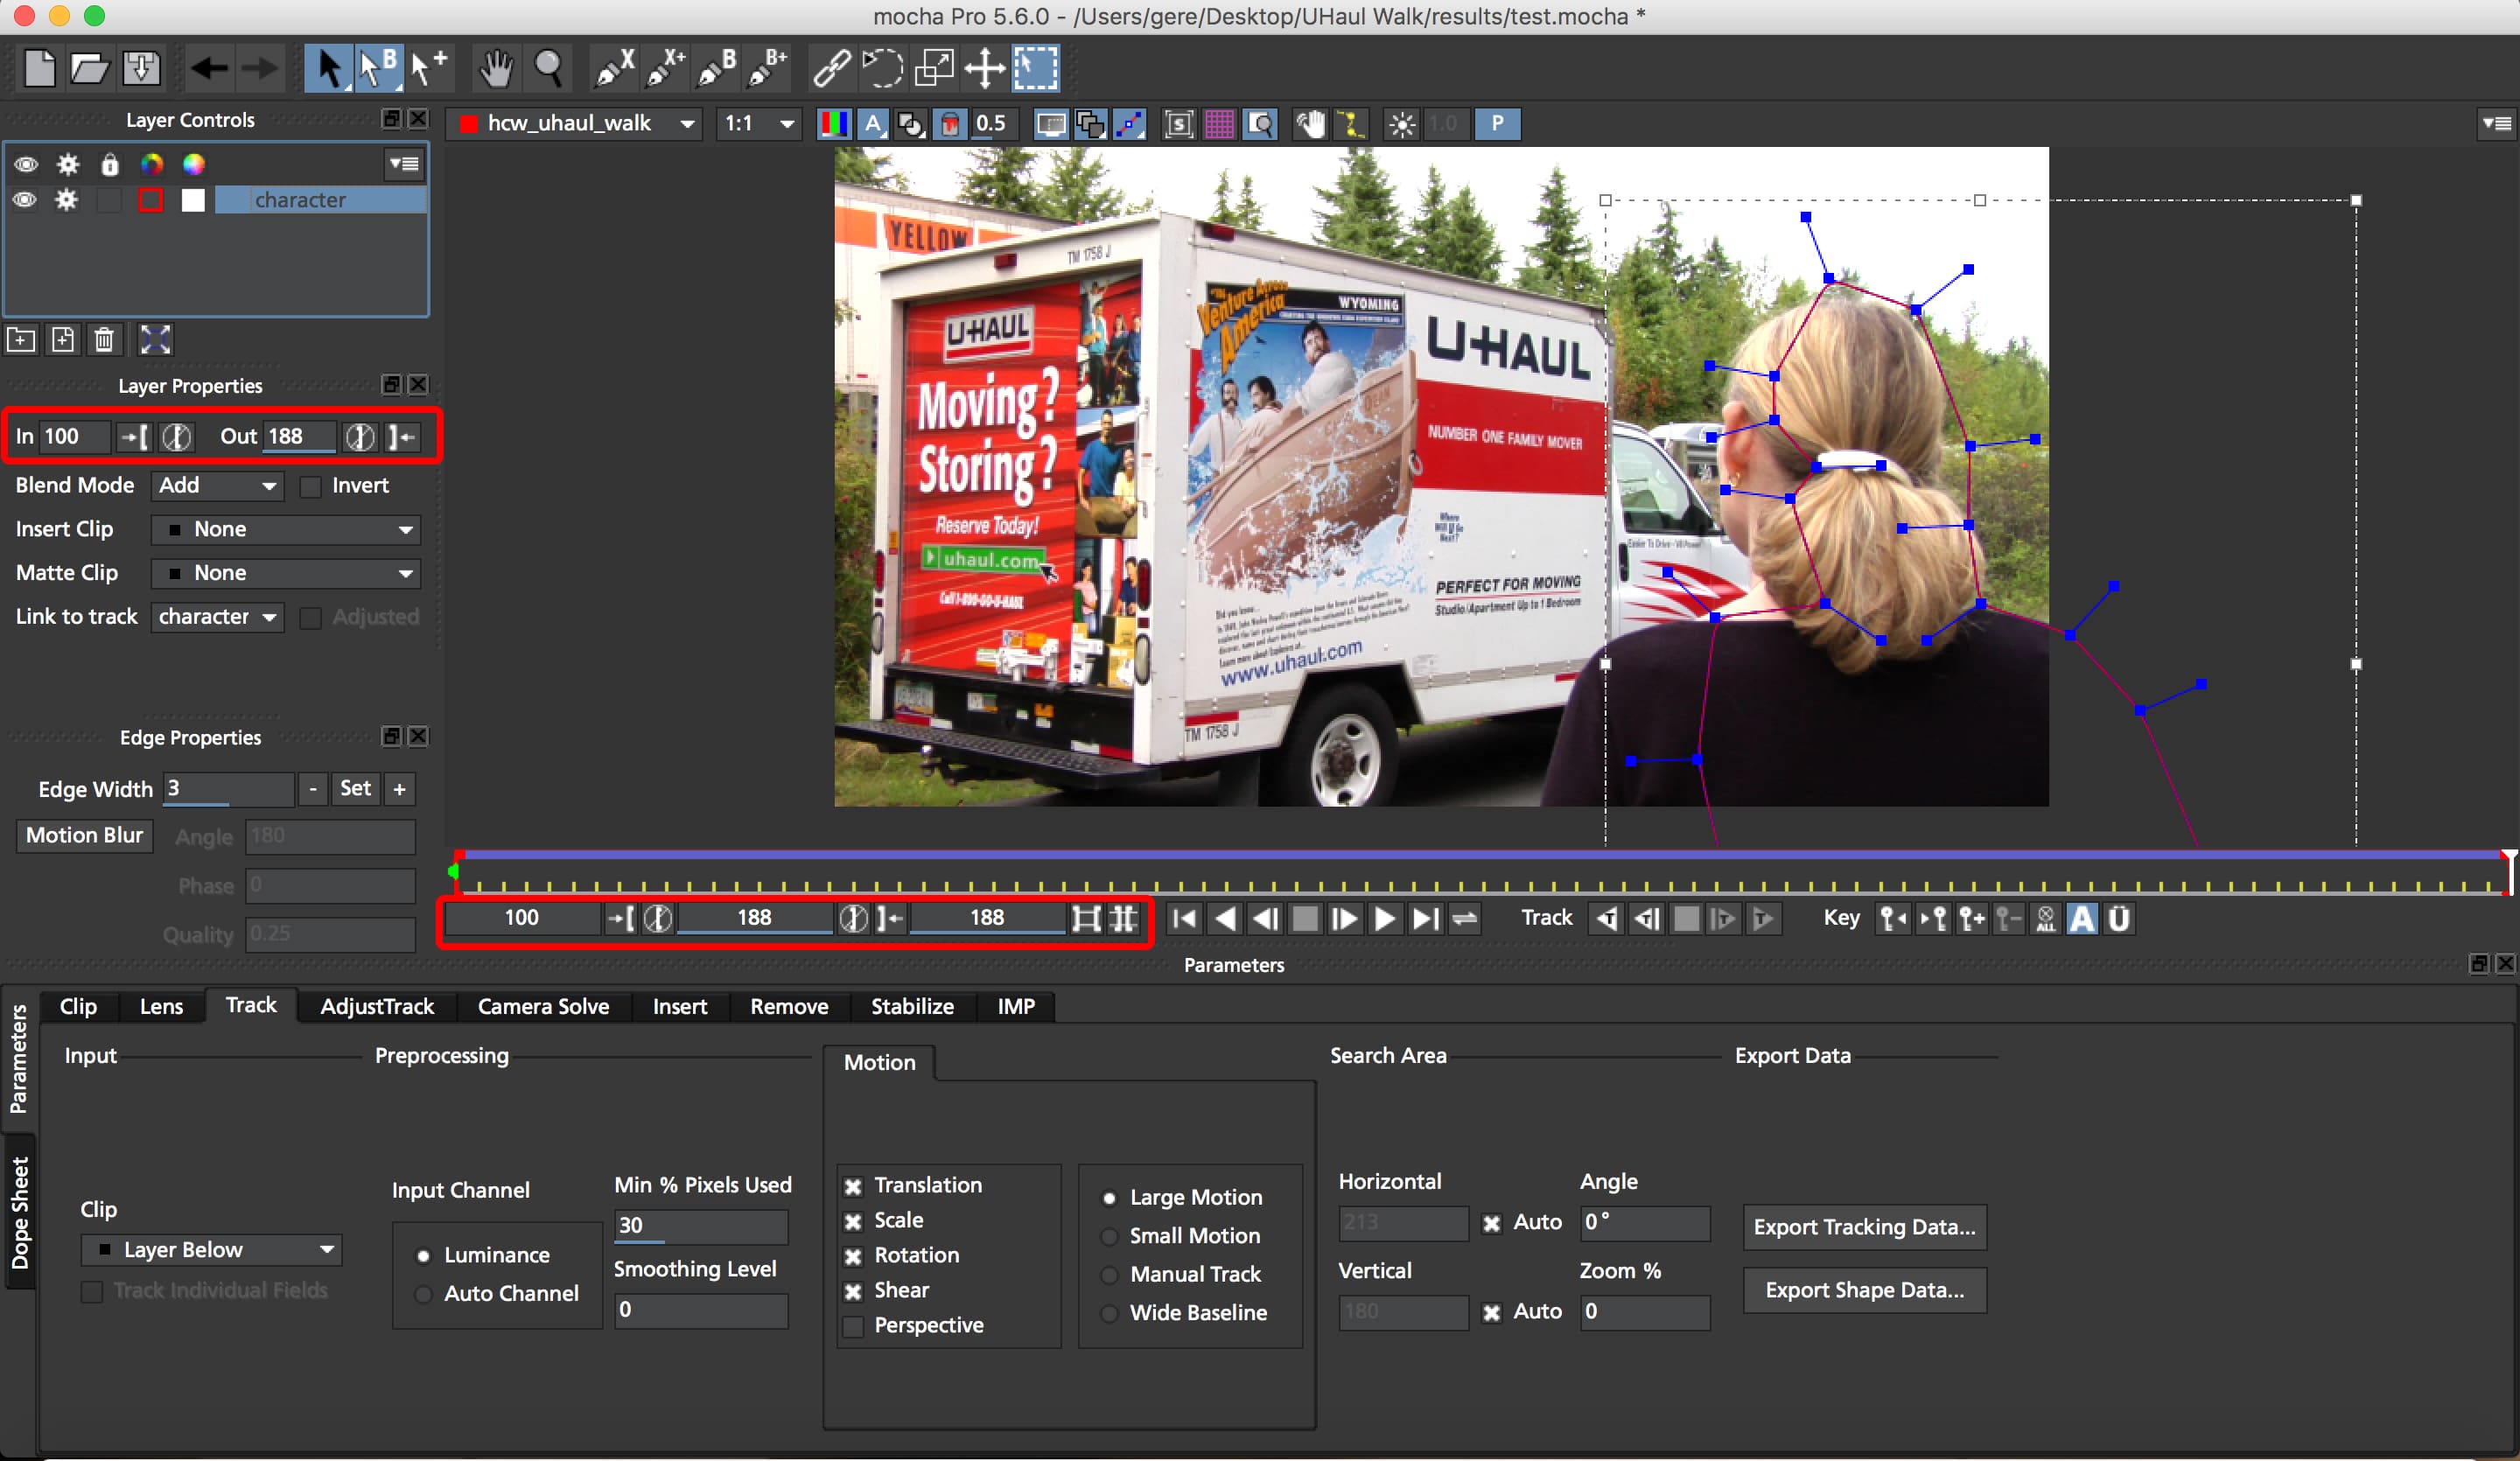
This is our Dope Sheet. To zoom out in the Dope Sheet press ALT + Scroll Wheel in the Windows OS or CMD + Scroll Wheel in Mac OS.

And NOW, the Trick!! We want to extend the Frame Range, from 0 to 188, maintaining the keyframe and the track made.

Go in the Clip tab and click on the Relink... button.

Reload the footage from the new start frame, so from 0 to 188.
 →
→

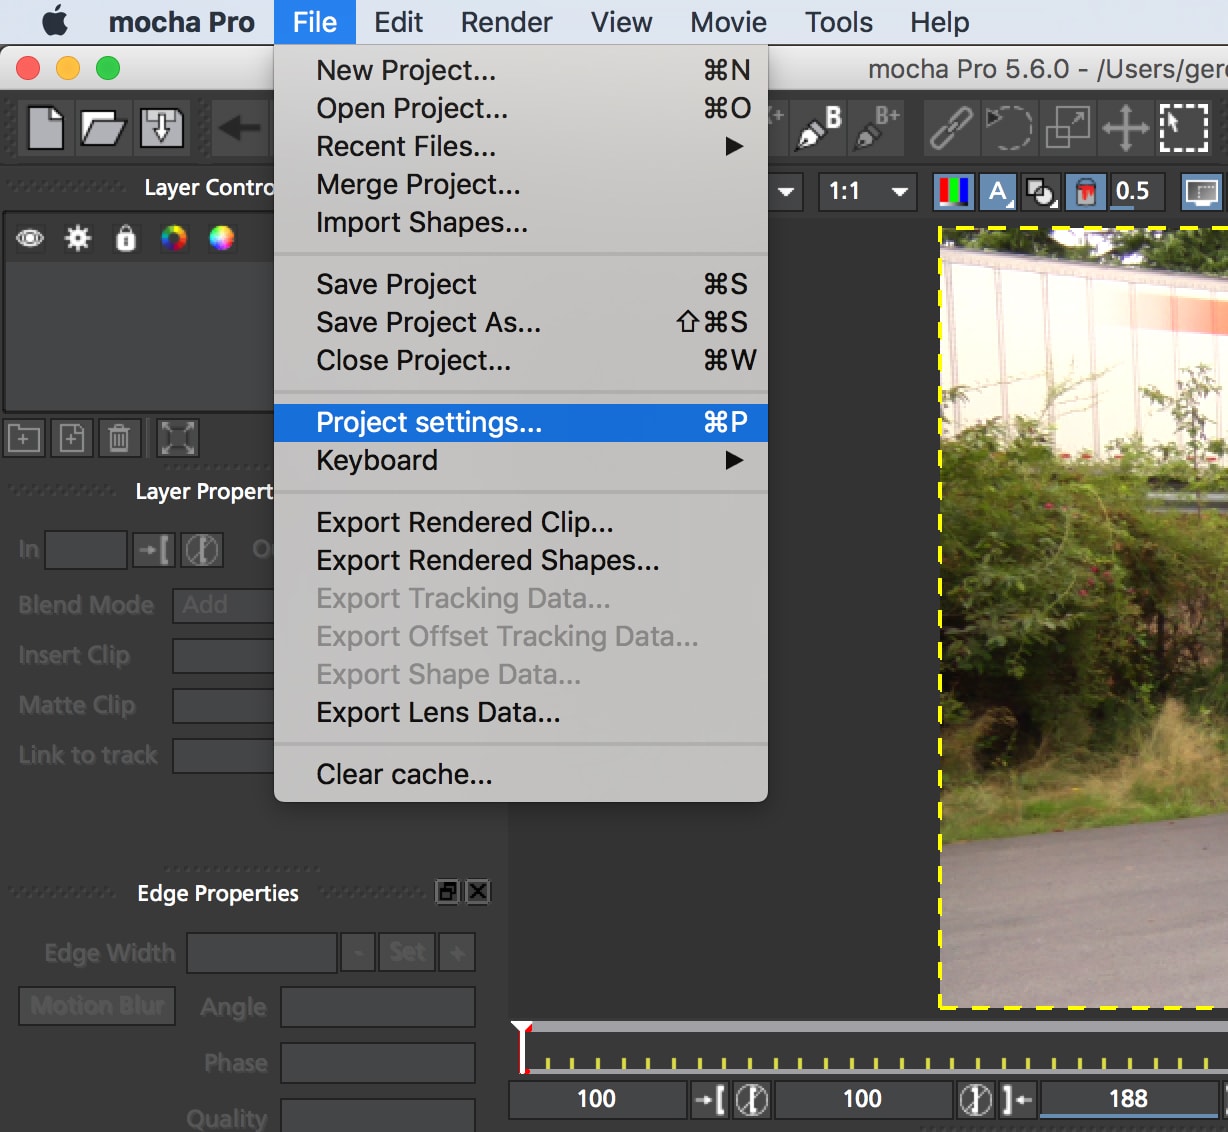
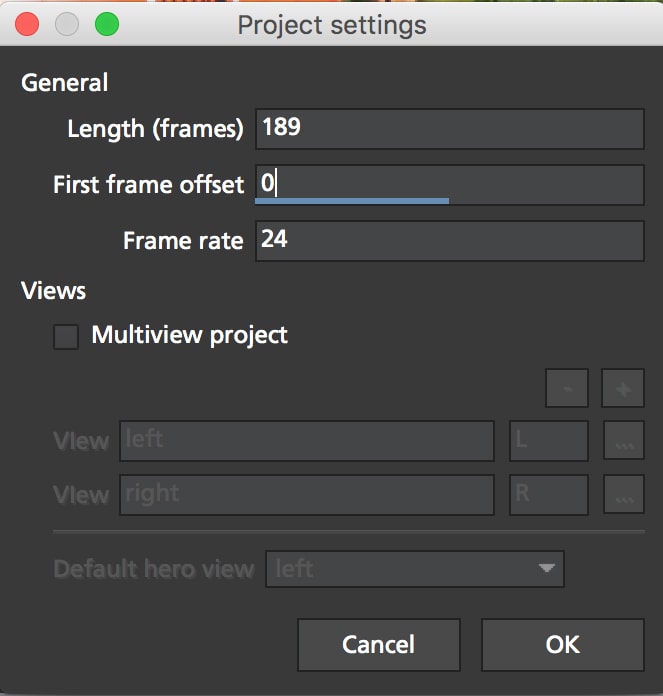
Now you changed only the frame range of the Clip, you have to modify the Frame Range of the Project. Go there: File → Project Settings and change the Length and the Frame Start..
 →
→

This is the situation: the Keyframes are starting from the Start Frame (0 in this case).

Drag and Drop the Red Bar till the end of the Frame Range.

Let's go again in the Dope Sheet and drag manually the Keyframes in the previous Frame Range (100-188).


Now go to the Frame 100 and Track Backwards till the beginning of the Frame Range (from 100 to 0).

